Photography by Ryan Leggett
Humans are curious by nature.
We love to know how things work. We like solving problems and we’re fascinated watching others create things from scratch. Just flip through your cable programming; It’s a chock full of folks building cars, dream homes, and the perfect cupcake.
The same fascination applies when clients step into my studio.
“What does this do?” They’ll ask as they point to my tools. “What are you working on now?”
I catch them sneaking a peek at the treasures on my messy bench top.
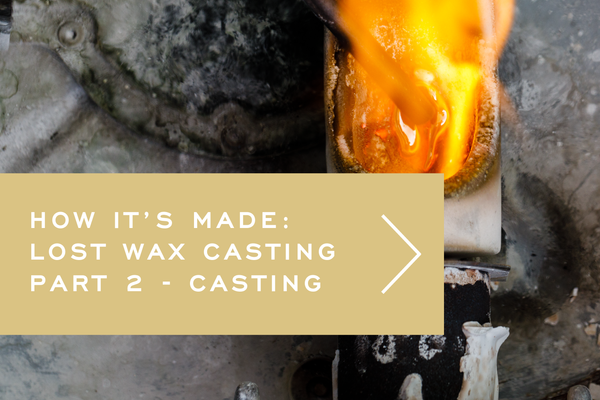
There are many methods to use when making jewelry, but my favorite method always gets the most questions: Lost Wax Casting. It’s the process where I take a hand-carved wax model and turn it into a finished piece in precious metal. The transformation is incredible. It’s no wonder folks are curious!
I’d love to walk you through this process in a 3-part series about How It's Made. Today, I’ll introduce you to how we design and carve the ring in wax. For Part 2, we’ll pick up a torch and work with molten gold. In Part 3, we set the diamond and refine our finished ring.
Carving a Wax Model of a Ring
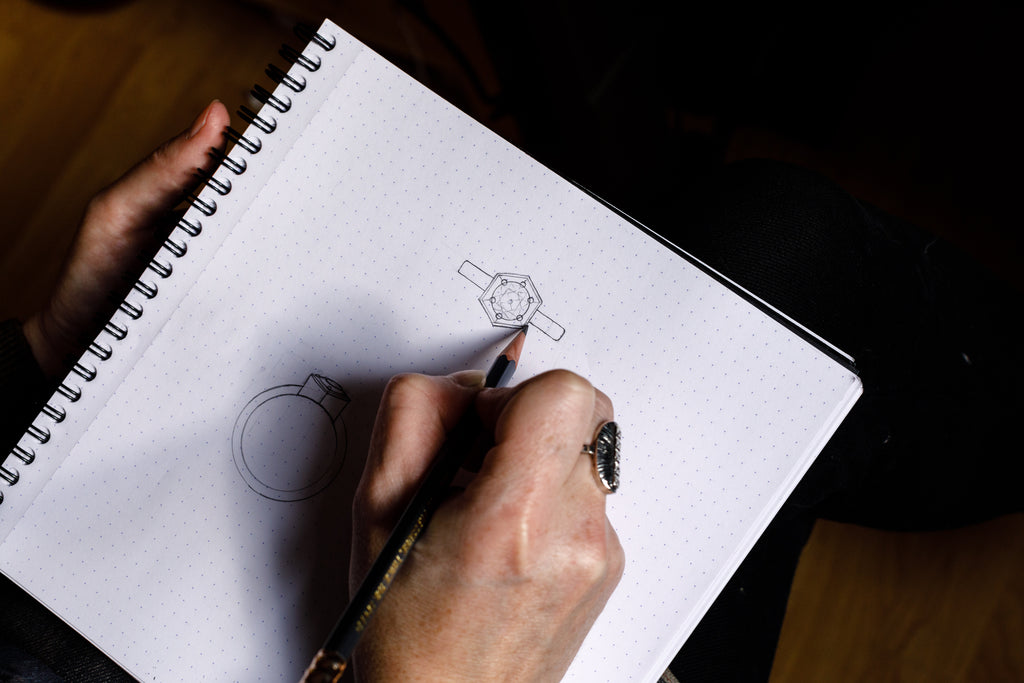
Each design begins as a series of sketches to flesh out the design and measurements for the final piece. The carving sometimes changes along the way, but a good sketch gives us a road map to follow at the start.
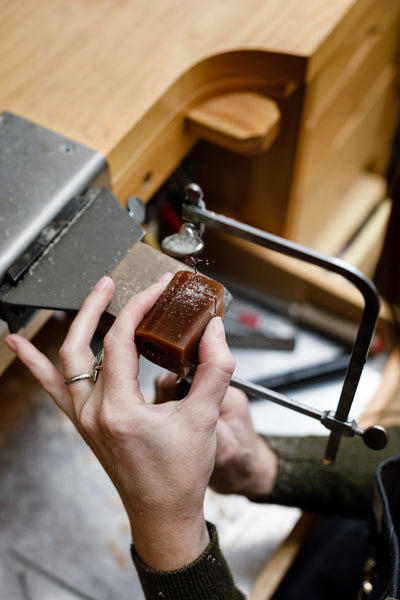
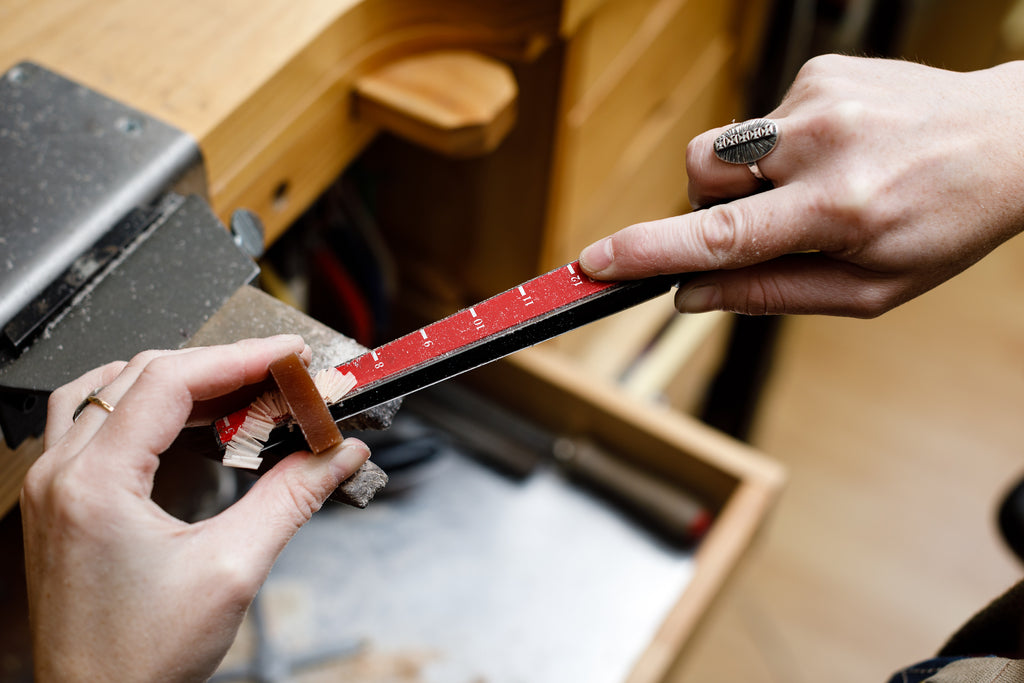
We begin the carving process by sawing off a slice of wax in the right thickness. We take care to make sure the sides are flat and parallel since we'll be using them to mark and measure.
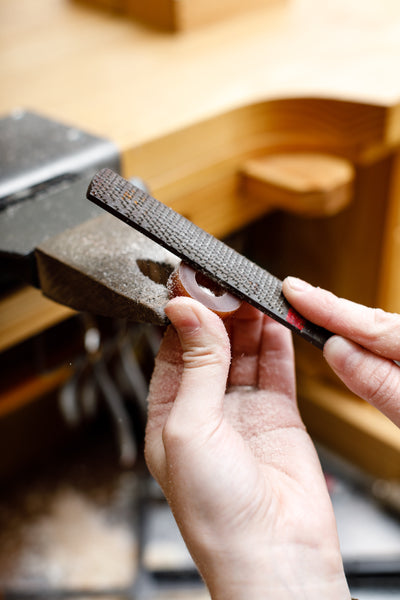
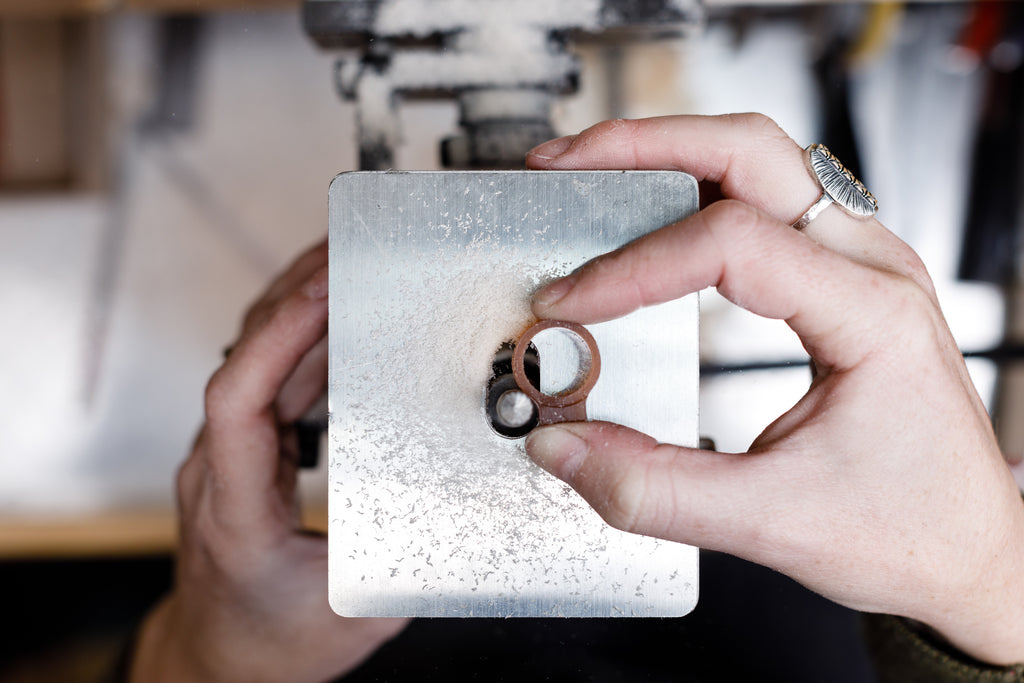
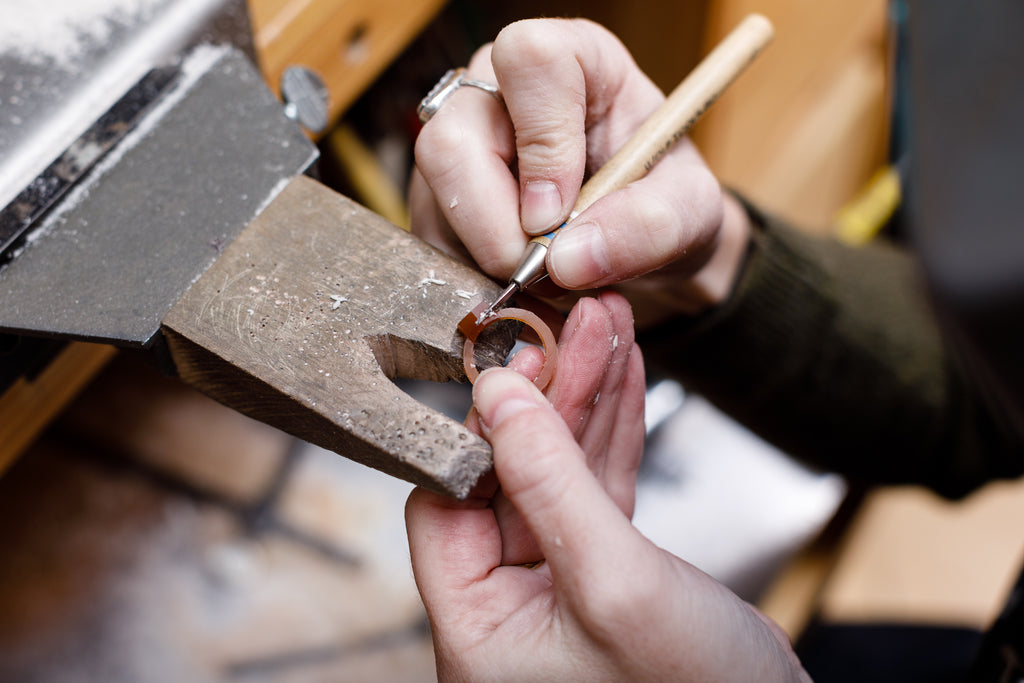
 Next, we'll enlarge the hole to the appropriate finger size.
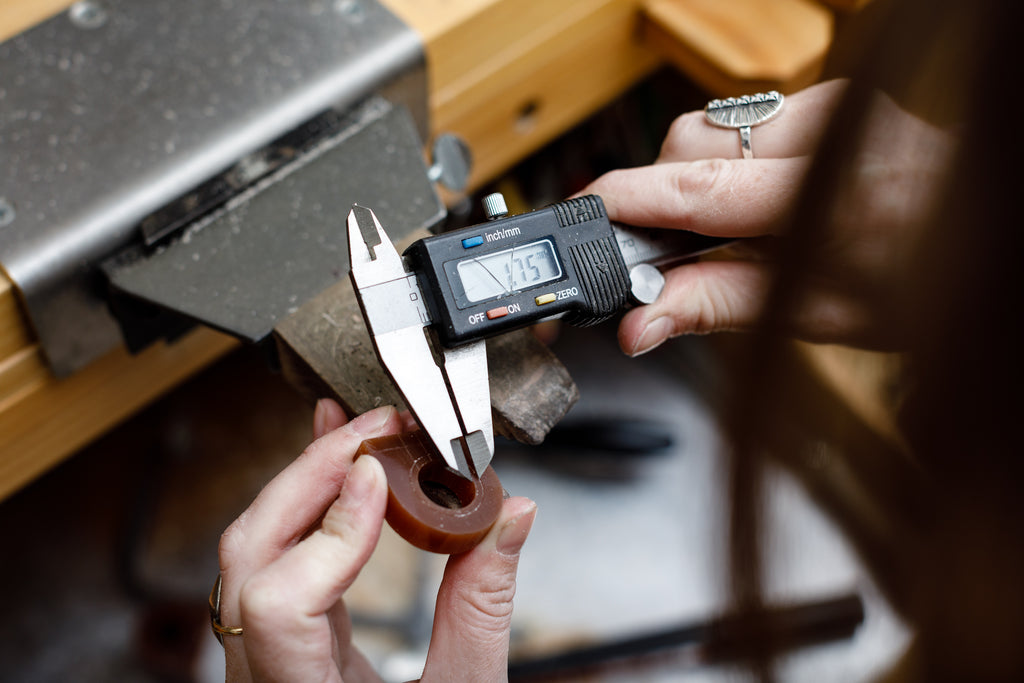 Using we use a set of calipers to mark measurements around the wax for the profile of the ring.
 Using the markings as a guide, we'll use a cylinder bur to quickly trim away the excess wax. This process takes just a few minutes to remove a good deal of material.
 The wax begins to take on a more ring-like shape. Now we can switch to hand tools to carve into it from all sides.
 The band is still quite wide, so we’ll use a bur to remove a few millimeters on either side. The top of the ring is trimmed down into a rough hexagon shape.
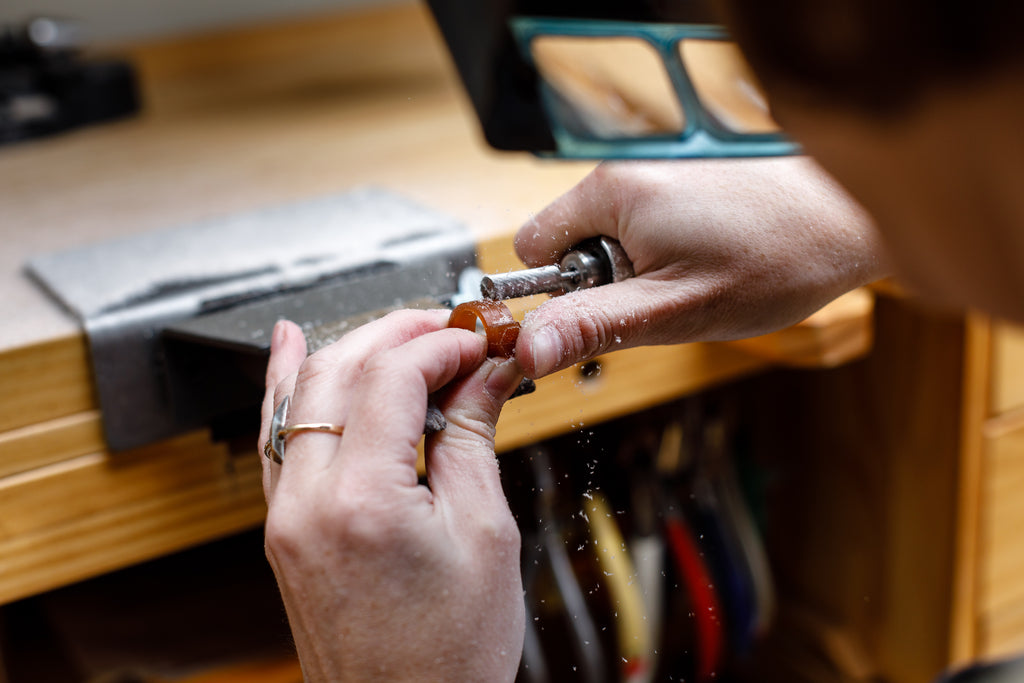
 We switch to finer hand tools and carve much slower to refine the final shape. These wax carving tools come in a variety of shapes to fit into different spaces. They are very sharp. We can use them to dig into the surface or to remove tiny shavings of wax.
We'll smooth out the surface of the wax model, round the edges on the band, and chip away at the design until it’s just right. It’s important that the ring looks proportional from all angles.
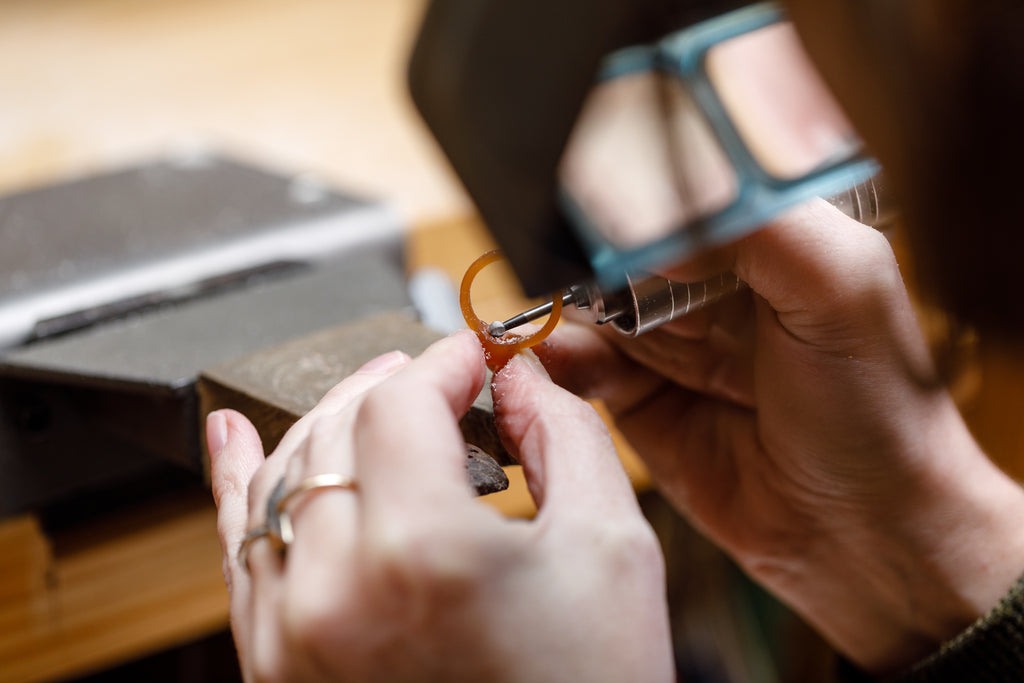 Even the inside of our ring gets special attention. A round bur fits nicely to contour the underside.
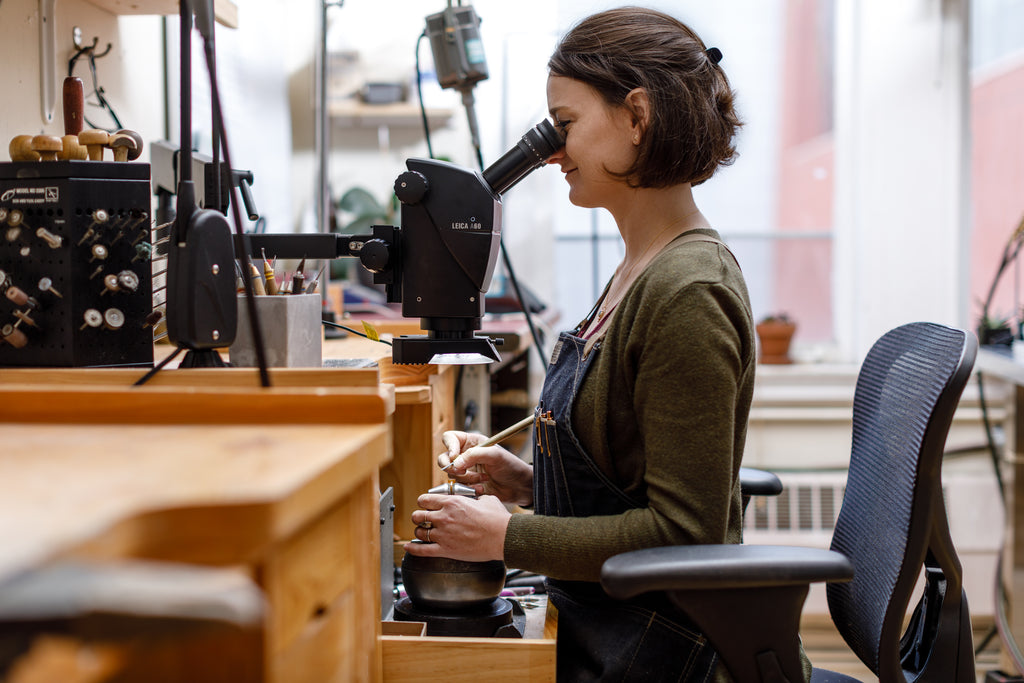 The top of our ring needs a few chiseled facets around the stone. Each one is carved out under the microscope to ensure they’re perfectly straight.
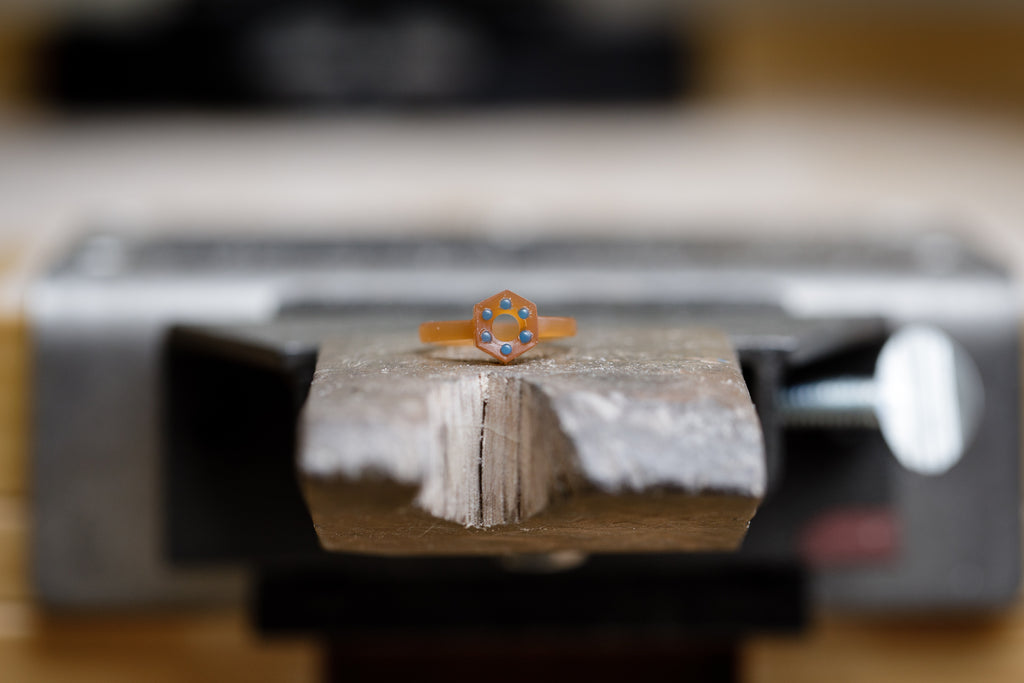
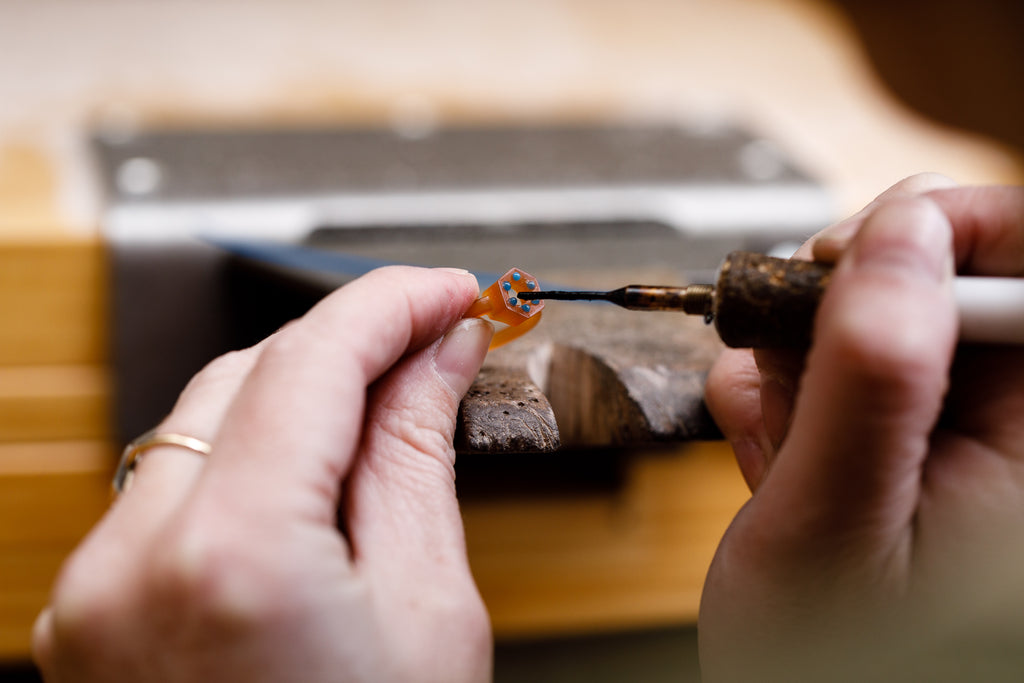 Finally, beads are added to our wax model that will eventually hold the diamond into place. We melt these into place using a warm wax tool. Our model is now ready for casting!
 Ready to see us cast this beauty in yellow gold? Head over to Part 2 in our How It’s Made series!