Photography by Ryan Leggett
With a freshly cast bit of gold in hand, it’s finally time to refine and finish our ring.
The next few steps involve sawing, sanding, and polishing our ring until the surface is just right. Then, we’ll take our time setting a beautiful Old European Cut diamond into the center.
Polishing and Setting

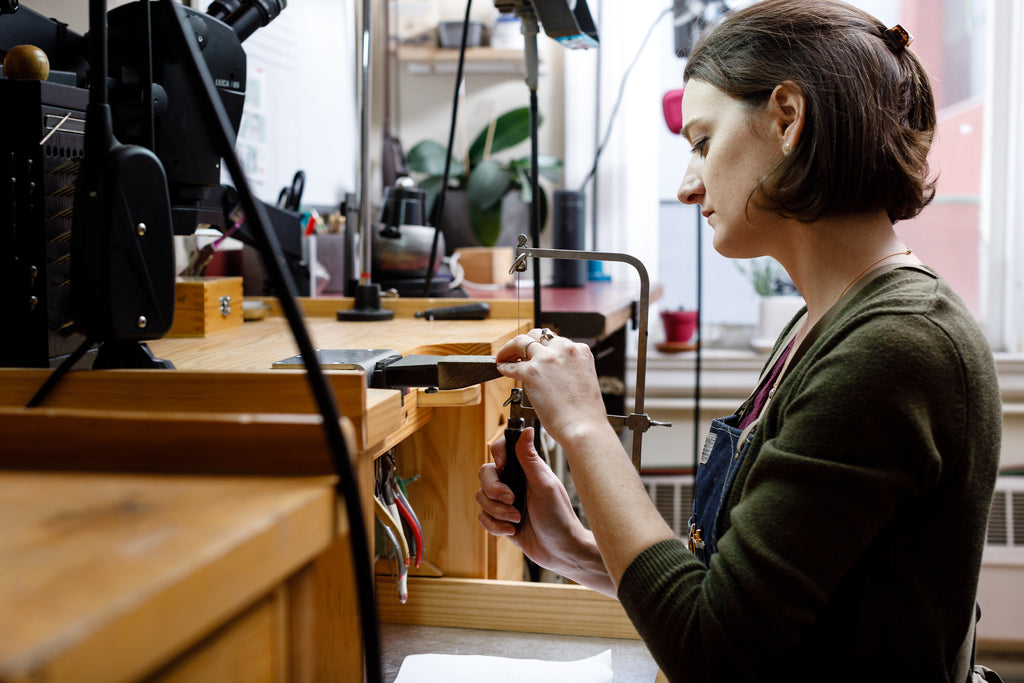
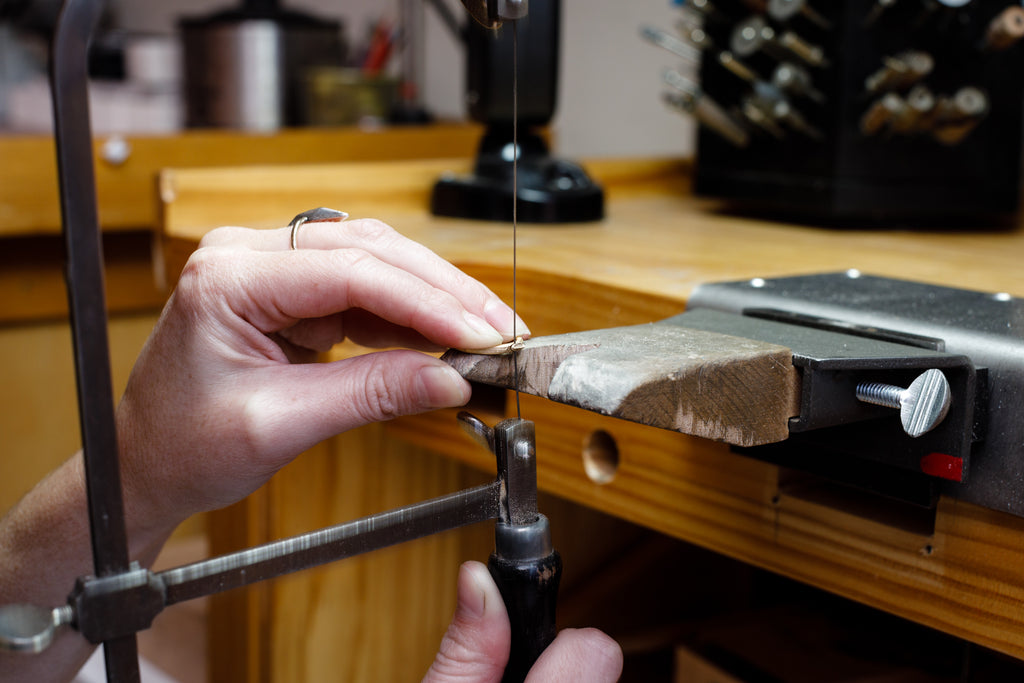
The sprue and button left over from casting must be removed from the bottom of the ring. A jeweler’s saw makes quick work of this task.


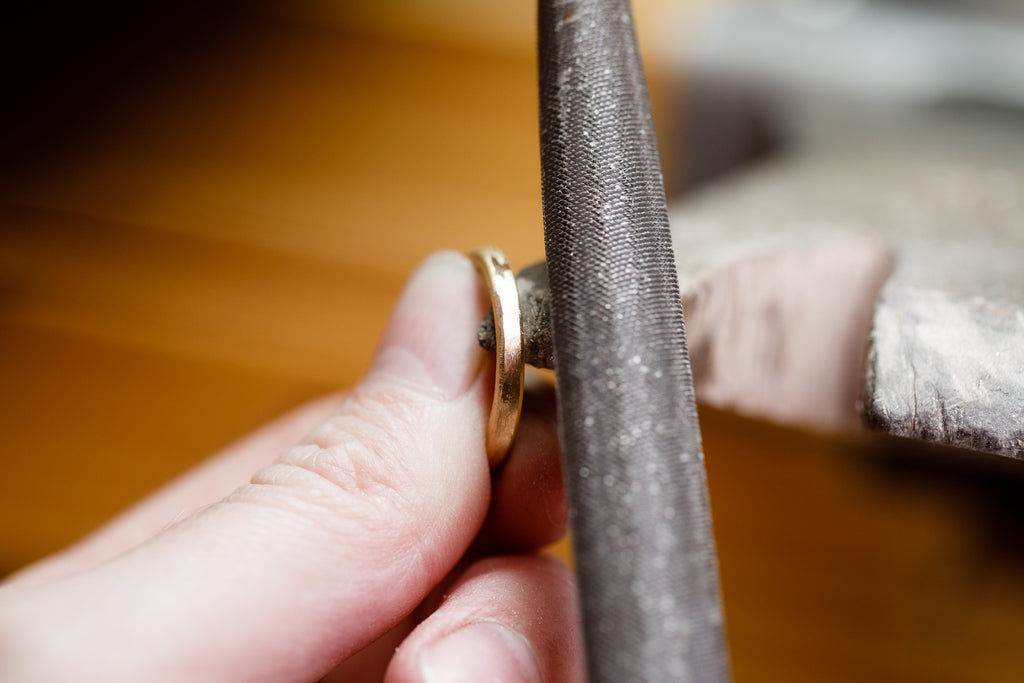
Next, we shape the bottom of the ring with a file. When we get the curve just right, we switch to sandpaper. We clean the whole ring using progressively finer grits of sandpaper to leave a perfectly smooth surface. Truthfully, this step can be tedious. But the results are worth it!

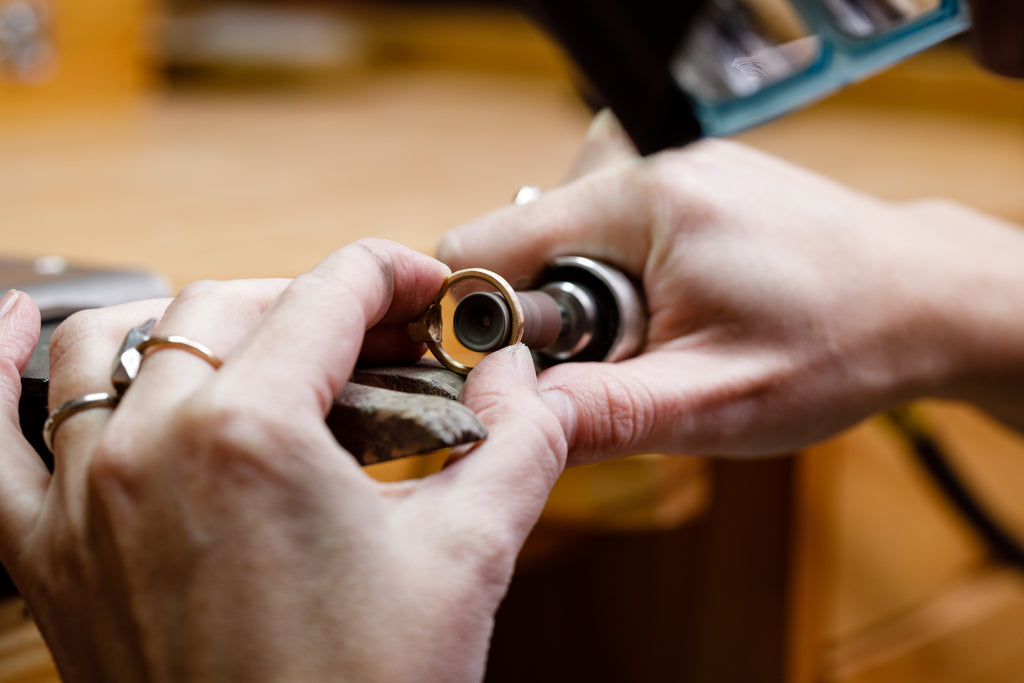
The inside of the ring is stamped with a hallmark and then sanded down using a sanding drum. Once the inside is perfectly smooth, the ring is ready for its first polish.


