How It's Made: Lost Wax Casting Part 3 - Finishing
Photography by Ryan Leggett
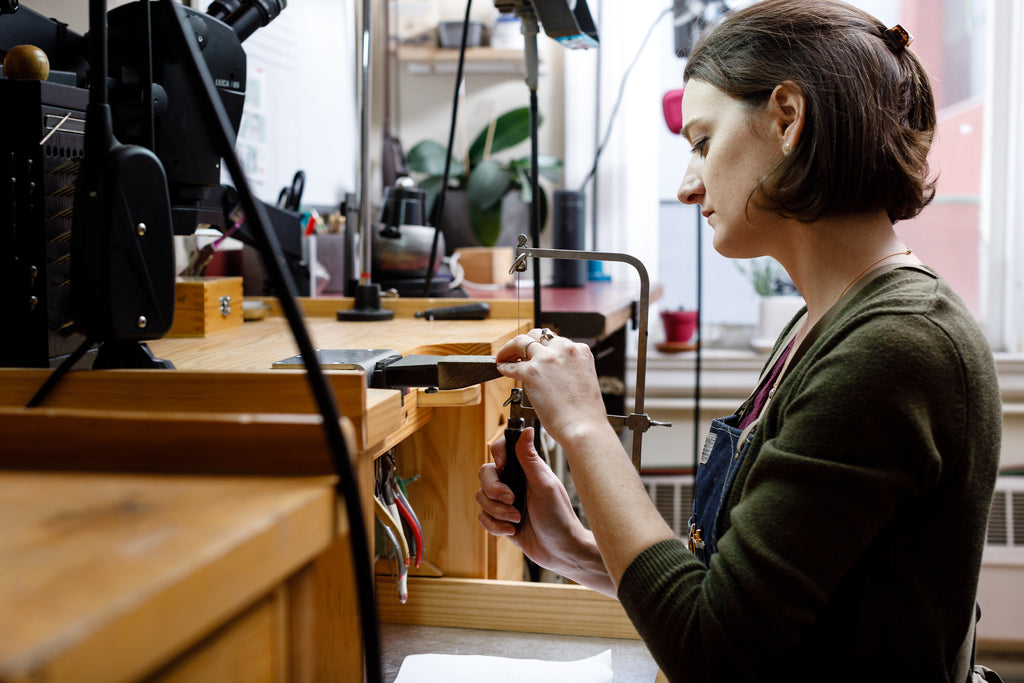
With a freshly cast bit of gold in hand, it’s finally time to refine and finish our ring.
The next few steps involve sawing, sanding, and polishing our ring until the surface is just right. Then, we’ll take our time setting a beautiful Old European Cut diamond into the center.
Polishing and Setting
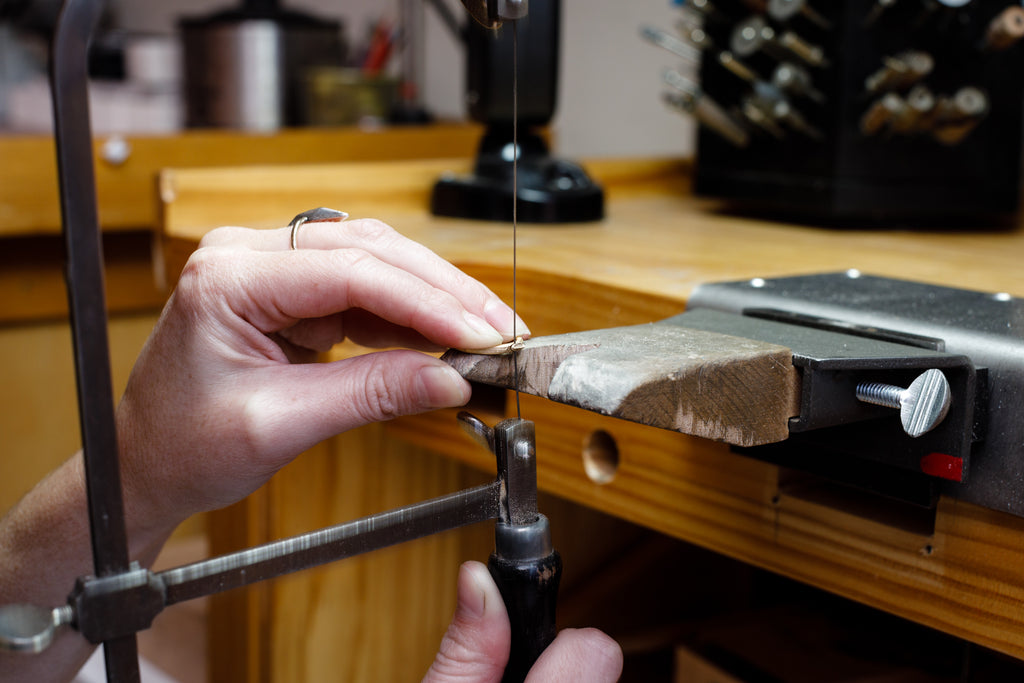
The sprue and button left over from casting must be removed from the bottom of the ring. A jeweler’s saw makes quick work of this task.
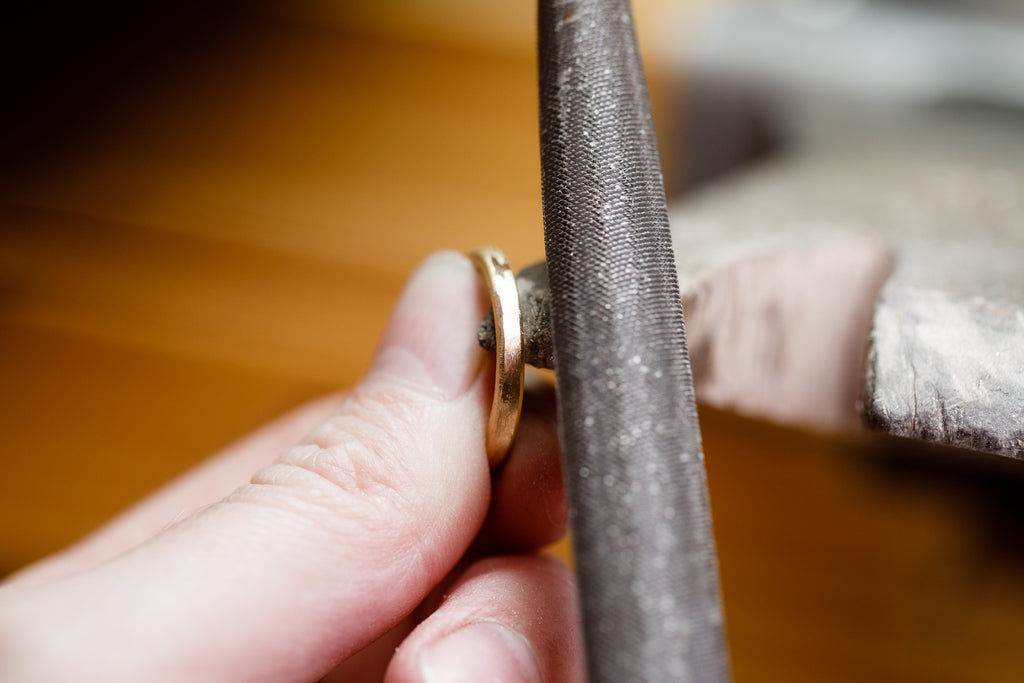
Next, we shape the bottom of the ring with a file. When we get the curve just right, we switch to sandpaper. We clean the whole ring using progressively finer grits of sandpaper to leave a perfectly smooth surface. Truthfully, this step can be tedious. But the results are worth it!
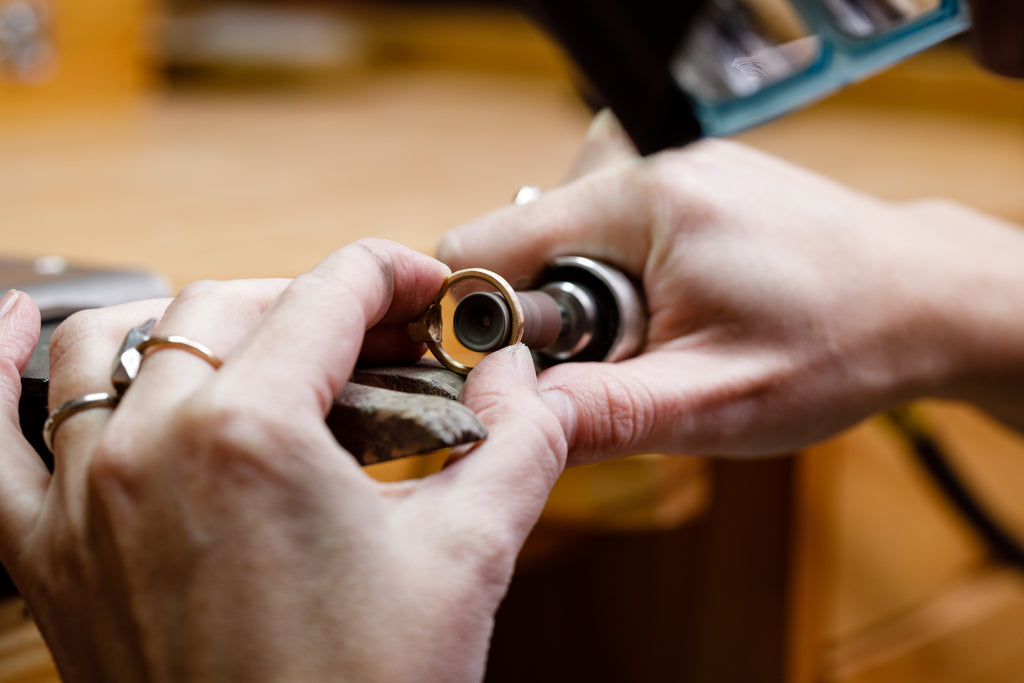
The inside of the ring is stamped with a hallmark and then sanded down using a sanding drum. Once the inside is perfectly smooth, the ring is ready for its first polish.

About the Author
As a long-time jewelry designer, I love the process of sculpting, engraving, and setting everything by hand. Through my exploration of texture-driven techniques and organic shapes, I hope you can feel my passionate energy and intention behind every piece.

About the Jewelry
Inspired by organic silhouettes, textures, light, and shadows for the collector with an eye for natural beauty.

About the Studio
Every piece is dreamed up and brought to life in my sunny Berkeley, California studio! You’re welcome to make an appointment to do a little in-person shopping and try things on.